Preface
Last update: Sun Dec 27 17:54:31 2020 -0600 (c3c8899)
The goal of this minimal book is thoroughly testing that Python matplotlib notebooks in Rmarkdown work seamlessly from within RStudio. Making matplotlib run from within RStudio using the R package reticulate and Python Anaconda is not trivial. Python matplotlib has always been a challenge running it as part of Rmarkdown notebooks in RStudio, causing crashes, or simply, not showing any plot because of a bug in the visualization layers. But lately RStudio has improved a lot! The package reticulate and RStudio have gone through a complete transformation in the past few months. Enough to say, it’s an accepted fact today that Python and R are ready to work along for the benefit of reproducible data science, machine learning and artificial intelligence.
Motivation
What has provoked this transition is the realization within the R community that porting -or translating code from- known machine learning libraries, such TensorFlow and PyTorch, from Python to R is turning into a tedious, repetitive and redundant task.
I had this feeling personally as I was developing rTorch, which is not other thing than writing wrappers in R to the already existing PyTorch functions. The hard work is writing a new function in R routing to its corresponding function in PyTorch. This requires class and type validation; sticking to the original length of arguments; converting R objects to Python, or PyTorch objects; test that the conversion is correct; and finally return the R object. With so many functions in these machine libraries, and the dynamic nature of the packages and change of versions, it is very hard to keep up. Why not rather write the machine learning algorithm directly in Python within Rmarkdown blocks?
I have been testing different ways of making this task reproducible and repeatable with several Python libraries, such as numpy, pandas, scipy, plotnine, scikitlearn, seaborn, and others. One of the hardest libraries to get satisfactory results is matplotlib, due to the inline plotting within the document. This works perfectly with r-base and ggplot2, but both are R packages. In the past, matplotlib was causing crashes in RStudio, or simply, didn’t show any plot because incompatibilities in the visualization layers. So annoying and frustrating to giving you an incentive enough to write your own R wrappers to Python machine learning packages. Today, the situation has changed drastically. RStudio has taken the decision of making R and Python ecosystems to live harmoniously together. The new upcoming RStudio 1.4 -which preview version I have been testing-, really delivers R and Python super-powers. And best of all, in the great scientifically reproducible Rmarkdown!
Methods
R engine
Since I combine code from different sources (R, Python, and Bash), I have added some custom colorization to the code chunks when I use a particular code engine. Here is an example of using the R engine. {-=""}
R
library(reticulate)
reticulate::use_condaenv("r-python")
What we are doing is calling the R package reticulate, which makes possible the communication between Python and R.
The way you will enter this block of code is pretty straightforward; you just indicate the engine you want, in this, case r, like this:
```{r}
library(reticulate)
reticulate::use_condaenv("r-python")
```
There is a shortcut in RStudio to add an R block or chunk for you: Ctrl Alt I. Also, you could customize your own shortcuts for other type of engines. For instance, I added Ctrl Alt P for creating a Python code chunk.
Bash engine
This chunk of code with the engine set to bash will list all the conda environments installed and available to the user (in my machine):
Shell
echo "list all conda environments available"
source ~/miniconda3/etc/profile.d/conda.sh
conda activate r-python
conda env list
echo "working from the terminal"
#:> list all conda environments available
#:> # conda environments:
#:> #
#:> base /home/msfz751/miniconda3
#:> man_ccia /home/msfz751/miniconda3/envs/man_ccia
#:> pybook /home/msfz751/miniconda3/envs/pybook
#:> python_book /home/msfz751/miniconda3/envs/python_book
#:> r-ptech /home/msfz751/miniconda3/envs/r-ptech
#:> r-python * /home/msfz751/miniconda3/envs/r-python
#:> r-tensorflow /home/msfz751/miniconda3/envs/r-tensorflow
#:> r-torch /home/msfz751/miniconda3/envs/r-torch
#:>
#:> working from the terminalTo set the block as bash, we enter it like this:
 ```{bash, decorate=TRUE}
echo "list all conda environments available"
source ~/miniconda3/etc/profile.d/conda.sh
conda activate r-python
conda env list
echo "working from the terminal"
```
And the block will execute your commands as you were in the terminal.
Note that I am adding the parameter decorate=TRUE to the code block options.
Python engine
This other colorized chunk of code shows a simple example of the use of matplotlib from with R. It is a very simple example but now you now the color convention for different sets of code I will be using in this minimal book.
Python
import matplotlib.pyplot as plt

plt.plot([1, 2, 3, 4])
plt.ylabel('some numbers')
plt.show()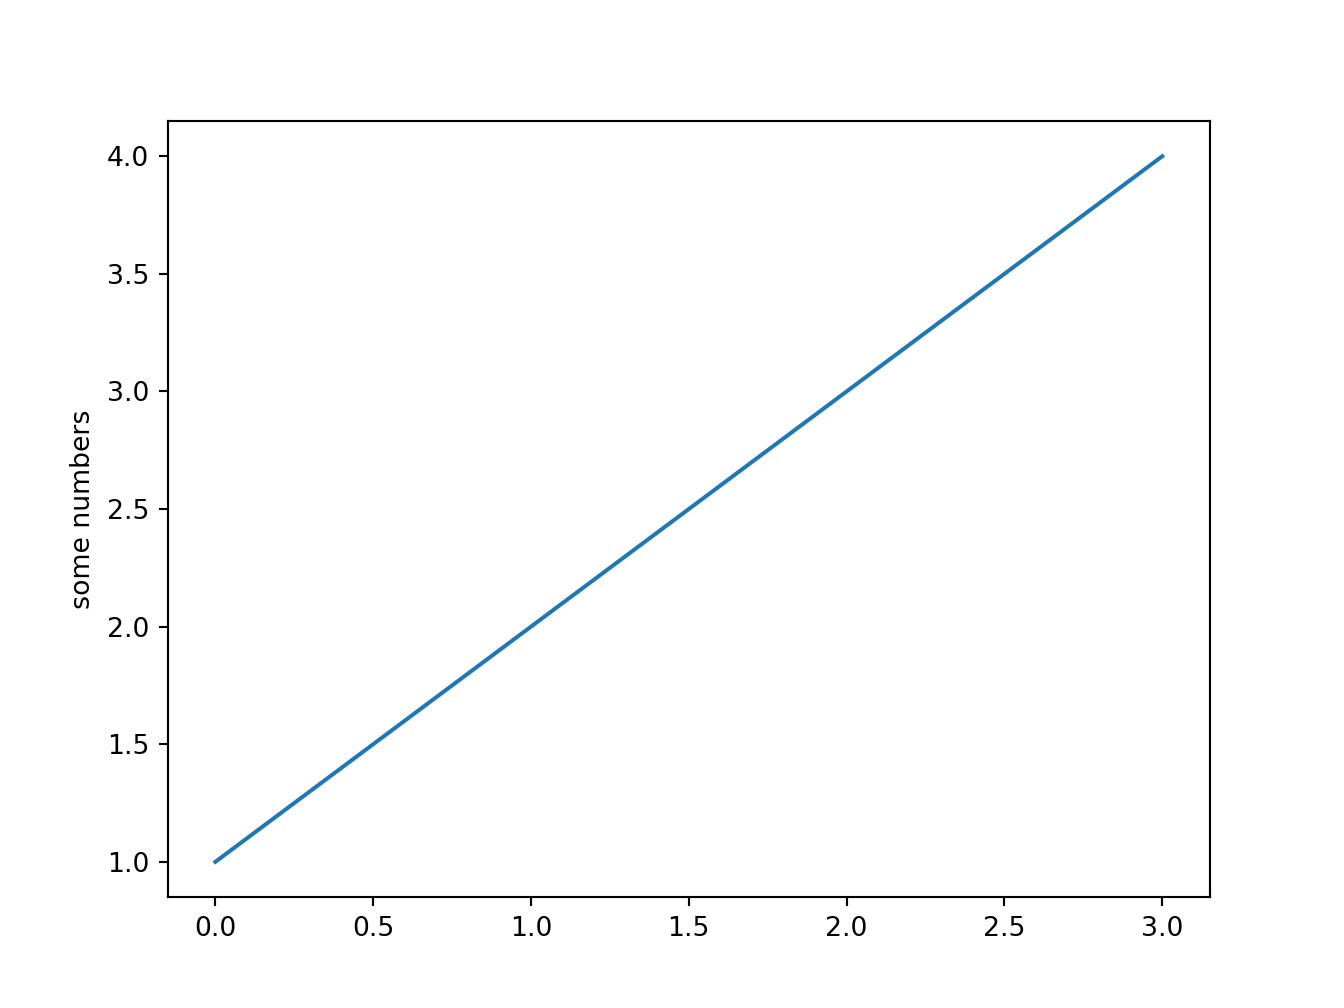
As you may be expecting it follows the same pattern when we want to use a Python engine. You just have to indicate it after three backticks, curly brace opened, python, and a curly brace closed: ```{python}. You end the Python block with other three backticks. That’s it.
 ```{python, decorate=TRUE}
import matplotlib.pyplot as plt

plt.plot([1, 2, 3, 4])
plt.ylabel('some numbers')
plt.show()
```
Because I want the block with some background color, and a label, I am again adding the parameter decorate=TRUE.
Colorizing the code blocks
To add color and icon to this R block, add the parameter decorate=TRUE. This function hook resides in the file R/deco_hook.R. Of course, you can modify the colors or icons for the engines, or add your own. This is how hook looks like:
R
library(knitr)

knit_hooks$set(decorate = function(before, options) {
  if (before) {
     if (options$engine == "python") {
       label <- "<b>Python</b>"
       bc <- "#417FB1"
       sz <- "90%"
       tc <- "#FFD94C"
       icon <- "<i class=\"fab fa-python\"></i>  "
     } else if (options$engine == "R") {
       label <- "<b>R</b>"
       bc <- "#4C78DB"
       sz <- "90%"
       tc <- "#ffffff"
       icon <- "<i class=\"fab fa-r-project\"></i>  "
     } else if (options$engine == "bash") {
       label <- "<b>Shell</b>"
       bc <- "#000000"
       sz <- "90%"
       tc <- "#ffffff"
       icon <- "<i class=\"fas fa-terminal\"></i>  "
     }
    paste0("<div class=decocode>",
           "<div style=\"background-color:", bc, "\">",
           "<span style=\"font-size:", sz, ";color:", tc, "\">",
           icon, label, "</span>", "\n")
  } else {
    "</div><br></div>"
  }
})
You see that we are using the knitr engine name as the condition for the formatting block.